THE COUNTRY ISSUE IS OUT NOW!

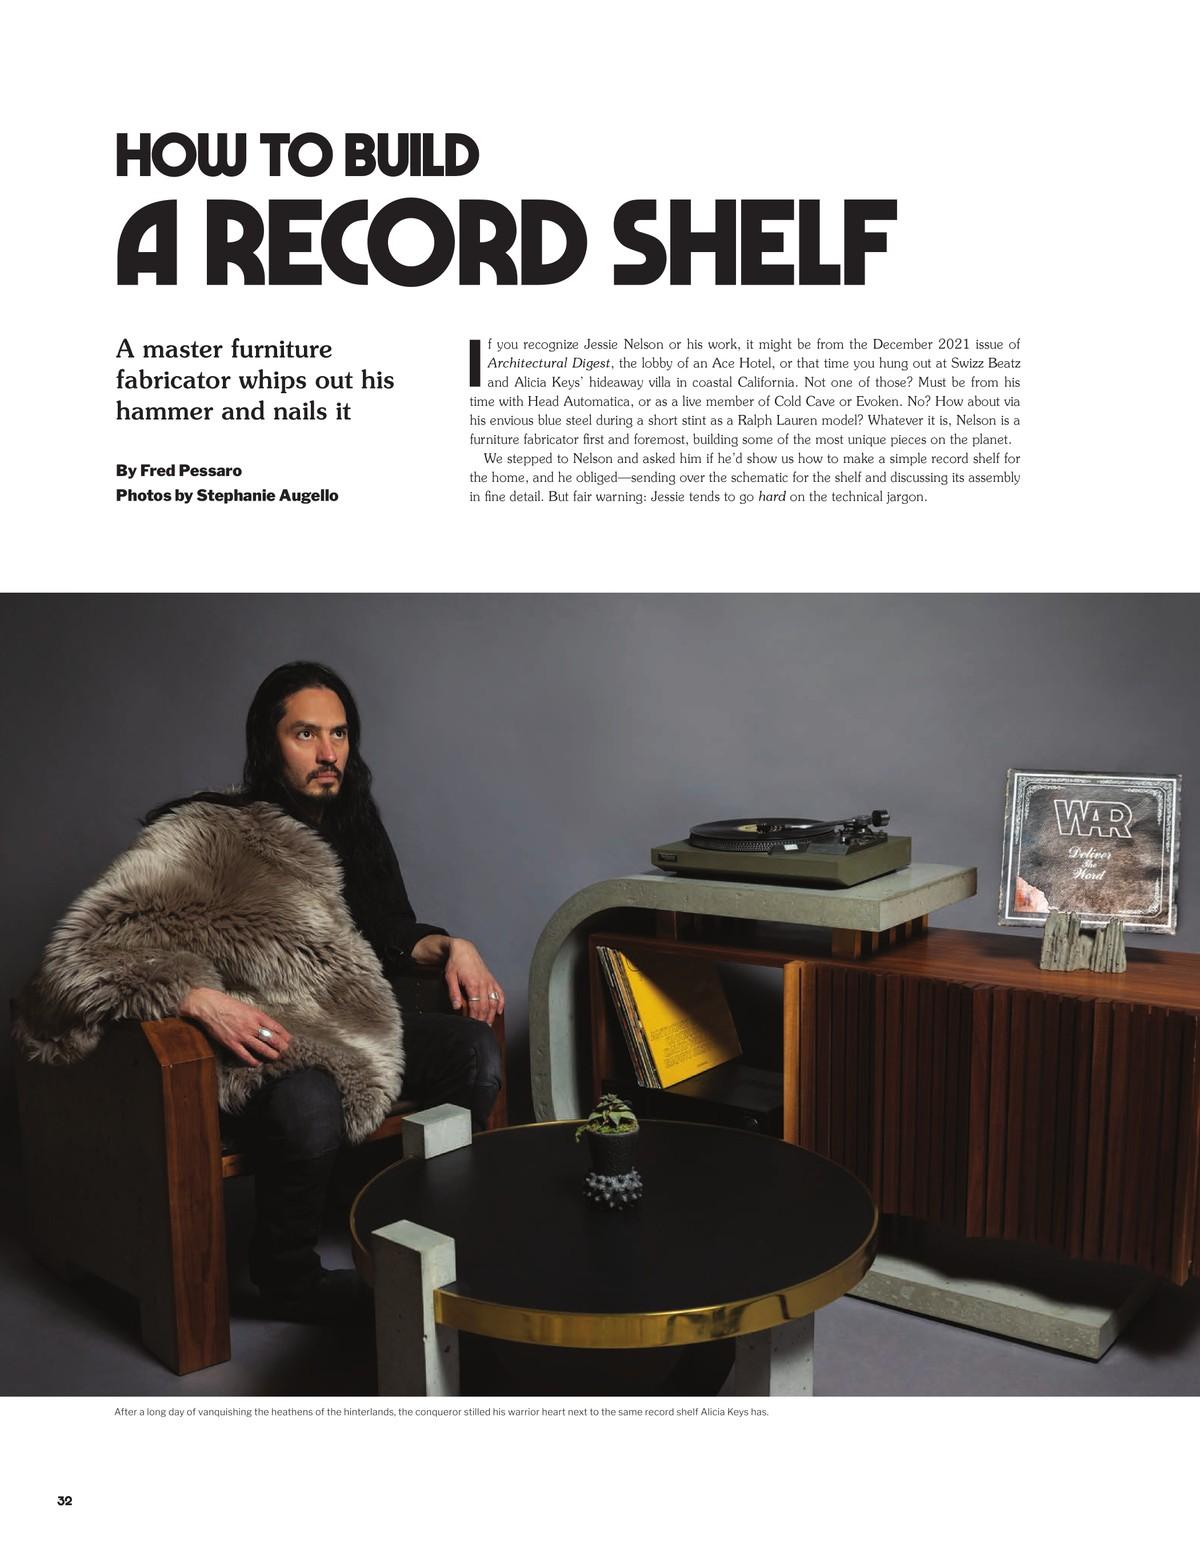
HOW TO BUILD A RECORD SHELF

A master furniture fabricator whips out his hammer and nails it.

June 1, 2023

The CREEM Archive presents the magazine as originally created. Digital text has been scanned from its original print format and may contain formatting quirks and inconsistencies.

If you recognize Jessie Nelson or his work, it might be from the December 2021 issue of Architectural Digest, the lobby of an Ace Hotel, or that time you hung out at Swizz Beatz and Alicia Keys’ hideaway villa in coastal California. Not one of those? Must be from his time with Head Automatica, or as a live member of Cold Cave or Evoken. No? How about via his envious blue steel during a short stint as a Ralph Lauren model? Whatever it is, Nelson is a furniture fabricator first and foremost, building some of the most unique pieces on the planet.

We stepped to Nelson and asked him if he’d show us how to make a simple record shelf for the home, and he obliged—sending over the schematic for the shelf and discussing its assembly in fine detail. But fair warning: Jessie tends to go hard on the technical jargon.

LIST OF MATERIALS

3/4 inch plywood Woodworking glue Pencil

1 lA inch size 8 screws 1/64 inch drill bit Hammer

Screwdriver (first LP only) Drill bit for screwdriver

1 Inspect your wood (preferably birch, • teak, or oak). Plywood that looks like it might be compromised probably is, so just pick the next sheet if you have questions. A strong wood won’t bend or split when you are screwing or nailing it. When choosing your plywood, try to avoid pieces that are too “veiny” (too many knots in the sheet). These tend to indicate weak points, and you want your furniture to be able to take a piledriving!

2 Once you’ve got wood, you need to • make the right cuts. If you’re not handy with a giant saw, have it cut when you buy the wood so that it will be handled by a professional (known as a “mohel”). Don’t attempt any cuts if you’re not experienced—you don’t want to cut too little or, God forbid, too much!

3 Using the width of Board A, mark the • distance from the edge of Board B along the length with a pencil. This is called “edging.” From that mark, place Board A upright using the width and draw a straight line up the length of Board B. Place a steady stream of glue along this line, making sure Boards A and B are perpendicular. Make sure to use an appropriate amount—too much will result in what’s referred to in the carpentry biz as a “real creampie.”

Let the piece set for a moment and then drill through Board B into Board A. The hole should now be tight enough for screwing, so screw into both boards—a practice commonly known as “running a train” on the hole. Repeat with the second Board B into the other side of Board A, creating the final piece: a “throuple.”

4 Now, using the “throuple”—Boards A, • B, and B—place the second Board A flush against the ends of the two Board B’s to create an offset box, which will provide a firm bottom that can withstand repeated pounding.

5 Lay the box flat and squirt glue along the • top edge. Avoid the dreaded creampie! Place Board C across the top. The part where Board B is flush against Board C is the back of the shelf. Run a train across the boards, securing them to the top (a.k.a. “stacking”).

BUILD A RECORD SHELF

6 You should have five Board D’s, which • are the dividers for the shelf. Place one divider flat against Board A and in the corner along Board B. Take another Board D and place it lengthwise so that it is upright and parallel to board B. You have now effectively measured the distance to place the dividers via a method known as “snuggling,” creating a “cuddle cafe” between the boards. Turn the entire structure upside down and run a train into Board A and the side of Board D. Repeat on the side of Board A, making sure to hit it from the back until the new structure now has a sense of security. These boards are now in a “meaningful relationship.”

7 Place glue across the top edge of the two » upright Board D’s. Lay Board C across the two upright Board D’s and in between the two Board A’s. Run a train through the Board A’s and into Board C. Then run a train through the double D’s and into Board C. This method of creating a shelf will insert the wood into the firm bottom and across the two dividers (pro term: “pegging”).

8 Place one Board D upright and flat • against Board B and then a second against Board C. Take the last Board D and set it upright against the flat Board D. Run a train through Board C and into the upright Board D. You have now executed a pair of “L7” joints.

Against the newly upright Board D, place a second Board D flat toward the center of Board C. Run a train through the upright

Board D against the flat Board D and through Board C. Remove the excess Board D. This method of measuring with the wood in place and then removing it is referred to as “the pullout method.” While not 100 percent reliable, it is used by carpenters the world over, with the exception of the carpentry union of Vatican City.

9 Place and then run a train through the final Board C across Boards A, A, D, and D.

You just made a record shelf! Clean up your workspace, and a quick reminder: Use the stiffest of wood, and always always always avoid the creampie!

Hey, Jessie: How ’bout some layman's terms next time?